
A good grooming session will help your furry pal look and feel their best, and smell oh-so-fresh when you lean in for a cuddle. Plus, brushing and bathing allow you to examine your pet’s skin, ears, and paws for abnormalities like dryness, redness, or lumps and bumps. Before you toss your pet in the tub for their next bath, however, read our MountainView Veterinary Hospital team’s step-by-step guide for a professional grooming.
Step 1: Gather essential grooming supplies specific to your pet’s needs
When choosing grooming supplies for your pet, shell out a little more money to ensure you purchase quality supplies. Cheap shampoos are full of ingredients that can damage your pet’s skin and fur, while poorly made brushes can hurt your furry pal or break during their first use.
Grooming supplies you may need include:
- A variety of brushes specific to your pet’s fur type
- Shampoo
- Towels
- Hair dryer
- Nail clippers
- Cotton balls
- Ear cleaning solution
- Disposable gloves
- Petroleum jelly
- Paper towels
If you need to trim your pet’s beard or perform a sanitary trim, you also may need scissors and electric pet clippers. Use caution with these tools, as they can easily injure a startled or nervous pet.
Step 2: Brush your pet’s coat
Before bathing your pet, ensure their coat is free of tangles. If you don’t, scrubbing your furry pal in the tub could cause the tangled fur to form a painful mat. Brush your pet gently, but thoroughly, to unknot hair and remove dead fur, dirt, and debris, which will make bathing easier and faster.
In general, a brush with rubber teeth works well for short-haired pets, while metal-pinned brushes are better for long-haired pets.
Step 3: Clean your pet’s ears
When cleaning your pet’s ears, you can either squirt ear cleaning solution directly into the ear, or soak a cotton ball in the liquid. Most pets prefer the cotton ball method. Place the cotton ball in your pet’s ear and massage the base of the ear to help break up debris. Next, use dry cotton balls to wipe out the ears, removing wax, dirt, and fur. You may use cotton swabs, but only in the crevices of the ear flaps. Otherwise, you could inadvertently push debris deeper into the ear canal or rupture the eardrum.
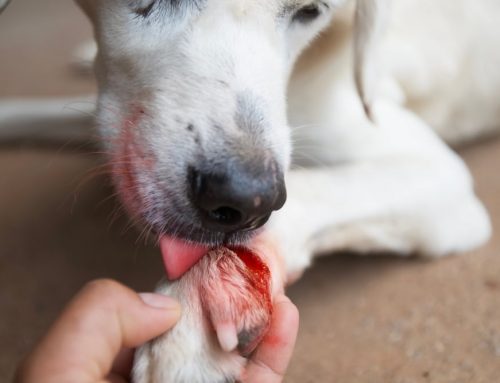
Step 4: Express your pet’s anal glands if needed
Most cats and large-breed dogs express their anal glands naturally, but pets with chronic allergies, abnormal anatomy, soft stool, or obesity often need help with this foul-smelling task. If your pet has been scooting along the carpet or licking excessively at their hind end, they likely need their anal glands expressed.
These two glands reside just inside your pet’s rectum, at roughly the 4 o’clock and 8 o’clock positions. Put on a pair of gloves, lubricate your index finger, and insert it slowly and gently up to the first knuckle. Anal glands can range in size from a pea to a small grape, so you should easily feel it if it is full. Gently milk the anal gland to express the fluid out, taking care to hide behind a wad of paper towels. Repeat the process on the other side, then head to the bathtub if your pet is not already in there.
Step 5: Bathe your pet
Use lukewarm, not hot, water when bathing your pet to avoid scorching their skin. Thoroughly douse their entire body to ensure their fur is wet, then work shampoo into a lather. If your pet requires medicated shampoo, you may need to distract them for 5 to 10 minutes while the soap sits. Take care around your pet’s face, using a washcloth around their eyes and nose. When rinsing out the shampoo, ensure all traces of the soap are gone. Your pet’s fur should feel squeaky clean instead of slippery when the shampoo has been fully rinsed out.
Step 6: Dry your pet’s fur
Use towels to blot excess water from your pet’s fur. Rubbing vigorously may help remove more water, but it also can lead to a skin infection. If your pet will tolerate it, use a hair dryer on a cool setting to speed up water evaporation. Don’t forget to dry the inside of your pet’s ears.
Step 7: Trim your pet’s nails

The best time to trim your pet’s nails is when they are soft from the bath. Use plenty of distracting treats and a pair of sharp clippers to tackle this task. For cats, apply gentle pressure to the paw to extend the claws. Dogs can leave their paws flat on the ground, or you can bend the paw upside down to see the nail better. When cutting, clip the nail just past the point where it begins to curve. If you cut in the straight portion of the nail, you’ll cut the quick, or sensitive nerve and blood vessel.
Step 8: Brush your pet’s coat again
To end your pet’s grooming session, brush them once more to remove tangles caused by bathing and drying.
If your furry pal is not a fan of your grooming techniques, you may need to outsource their nail trimming or all of their grooming needs to a professional in the and Denville areas. Pets who visit professional groomers require additional vaccinations to ensure they are fully protected against infectious diseases, so schedule an appointment with our MountainView Veterinary Hospital team if necessary.
Leave A Comment